![]()
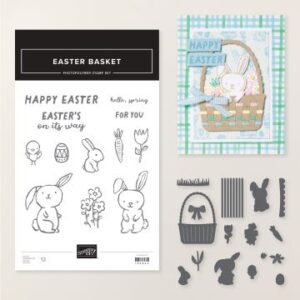
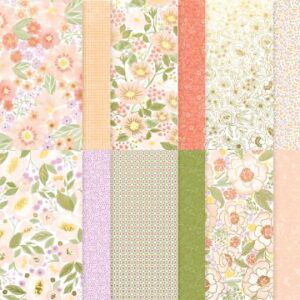
The Mini Catalogue has launched and I have been having so much fun creating gift card holders that I decided to share a tutorial over here on my blog so that you can share in the fun too! This design is a great way to use up some of your pretty paper and can easily be adapted to suit any occasion. The card I am featuring in my tutorial uses the Easter Basket bundle along with the Lovely & Beautiful Specialty Designer Series Paper.
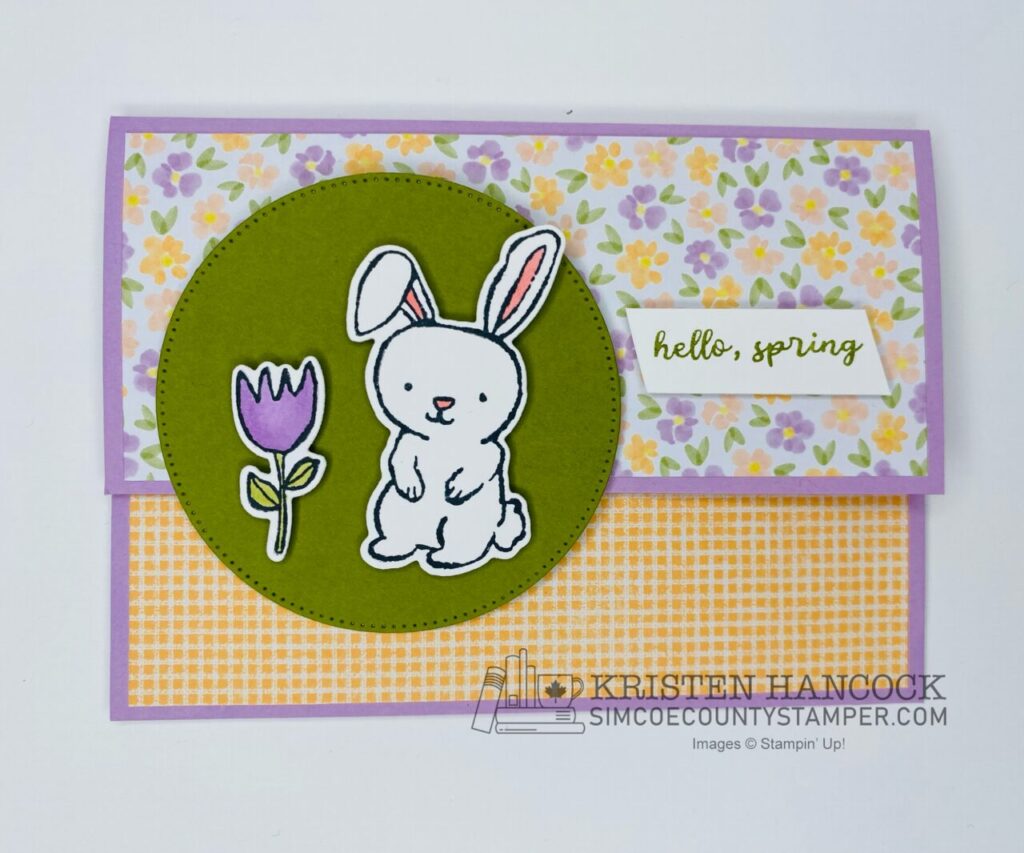
Take a glimpse at the card I’ll be designing in this tutorial, and get ready to gather the materials and measurements needed to turn your own inspiring ideas into reality. Seriously, how cute is that bunny?
Easter Basket bundle #166947 $67.50
- Easter Basket Bundle
- Lovely & Beautiful Specialty Designer Series Paper
- Fresh Freesia card base 5 1/2″ x 8 1/2″ scored on the long side a 2 1/2″ and 6 1/2″
- Basic White card stock 5 7/8″ x 4 1/4″ scored on the long side at 1/2″ 3 7/8″
- DSP – 2 1/4″ x 5 1/4″ and a second piece measuring 1 3/4″ x 5 1/4″
- punched or die cut shape for card front
- embellishments of your choice
- tear & tape adhesive
- liquid tombow adhesive
- ink to match dsp
- bone folder
Once you have gathered your supplies, you can view the tutorial below and get started on designing your own masterpiece!
Take a look at some additional cards I have created using the same template.
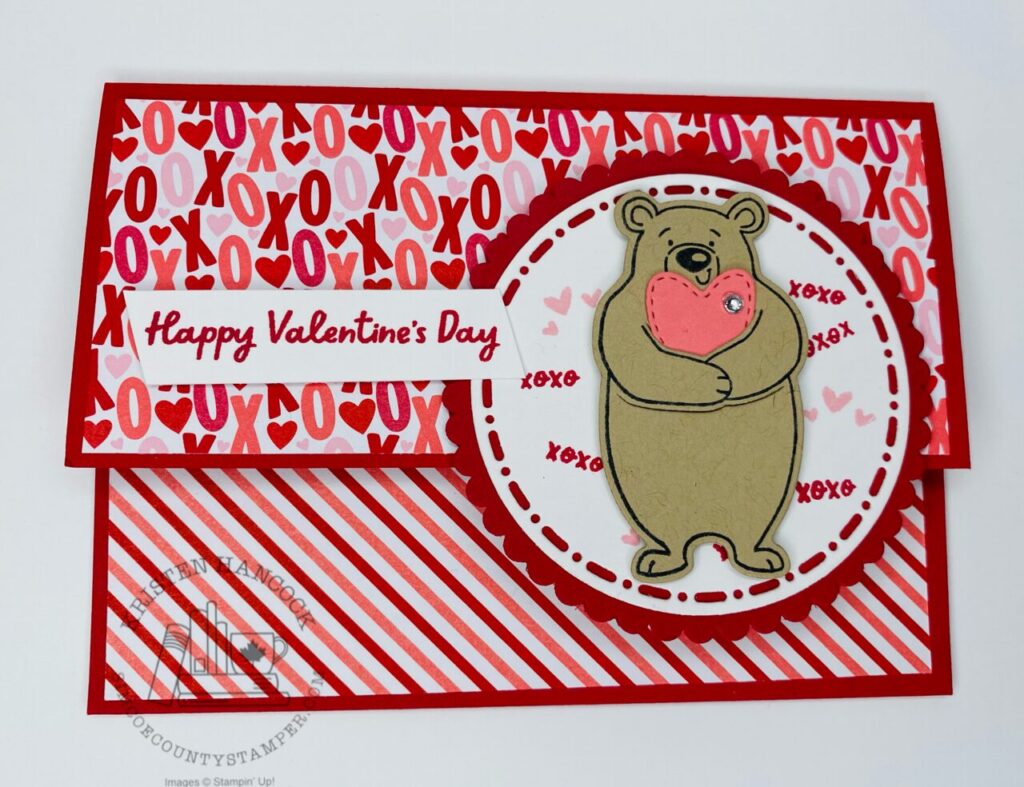
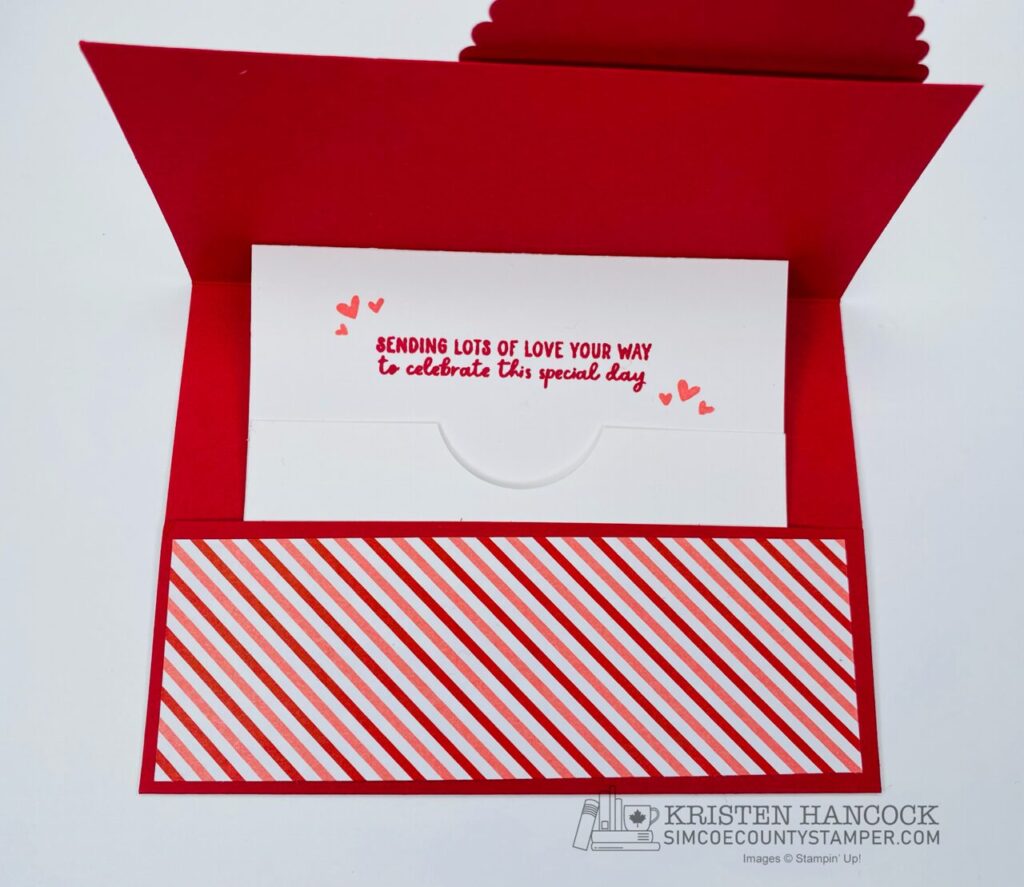
Valentine Kisses bundle #167310 $58.50

Easter Basket bundle #166947 $67.50
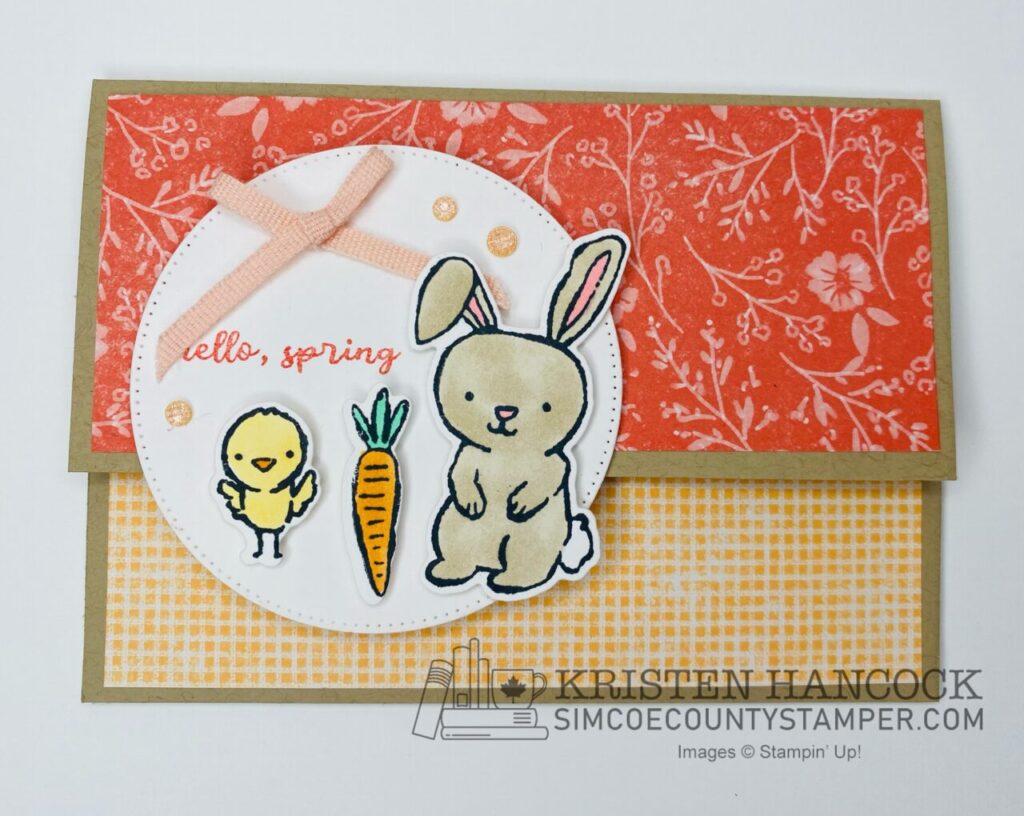
Easter Basket bundle #166947 $67.50
If you have enjoyed the tutorial, please let me know in the comments below. I am always happy to hear from you. Let me know what you would like to see in future. Blogging is new to me so I appreciate any feedback.
Thanks for stopping by!
Kristen


